< Page 13 of 14 >
1 2 3 4 5 6 7 8 9 10 11 12 13 14
Fitting
& Verification
Rigid Lens Verification
After receiving rigid lenses from the laboratory, the following parameters should be inspected for accuracy.
- Diameter
- Surface Quality
and Edges
- Base Curve
- Power
- Thickness
- Blend
- Transition Zones
Diameter:
The lens diameter can be verified with a measuring hand magnifier, a diameter
gauge, or one of the various types of projector inspection devices. Tolerance
is within 0.05 mm.
Surface Quality
and Edges:
Can be assessed utilizing a measuring magnifier, projector inspection
device, or through the use of the slit lamp.
Base Curve: Most often measured utilizing a radiuscope. Base curves can also be measured using a keratometer with a special holder which allows the contact lens to be held horizontally while the keratometer remains in its normal position. Such a holder is called a Con-ta-chek. The base curve should be accurate to within 0.025 mm of specifications.
Power: Back vertex power is measured with a lensometer. Should be within 0.25 D of power specified with less than 0.12D of uncalled for astigmatism.
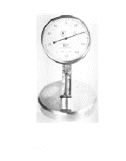
Thickness: Measured with a thickness gauge.
Blend & Transition Zones: May be examined through the use of a hand magnifier, projector inspection device, or slit lamp.
The measuring hand magnifier and projector inspection device are particularly useful since they can measure peripheral curve width, optic zone width, lens diameter, and surface quality.
The radiuscope is primarily designed to measure radius of curvature, but it can also function to assess the surface quality of a rigid lens. To help ensure accuracy when using a radiuscope or keratometer remember to first focus the eyepiece.
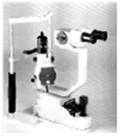
A slit lamp can also be useful as a lens inspection device when higher magnification is desired.
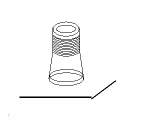
Hand
Magnifier Slit
Lamp
Thickness
Gauge


Diameter Gauge

Projector Inspection Device

Radiuscope


< Page 13 of 14 >
1 2 3 4 5 6 7 8 9 10 11 12 13 14